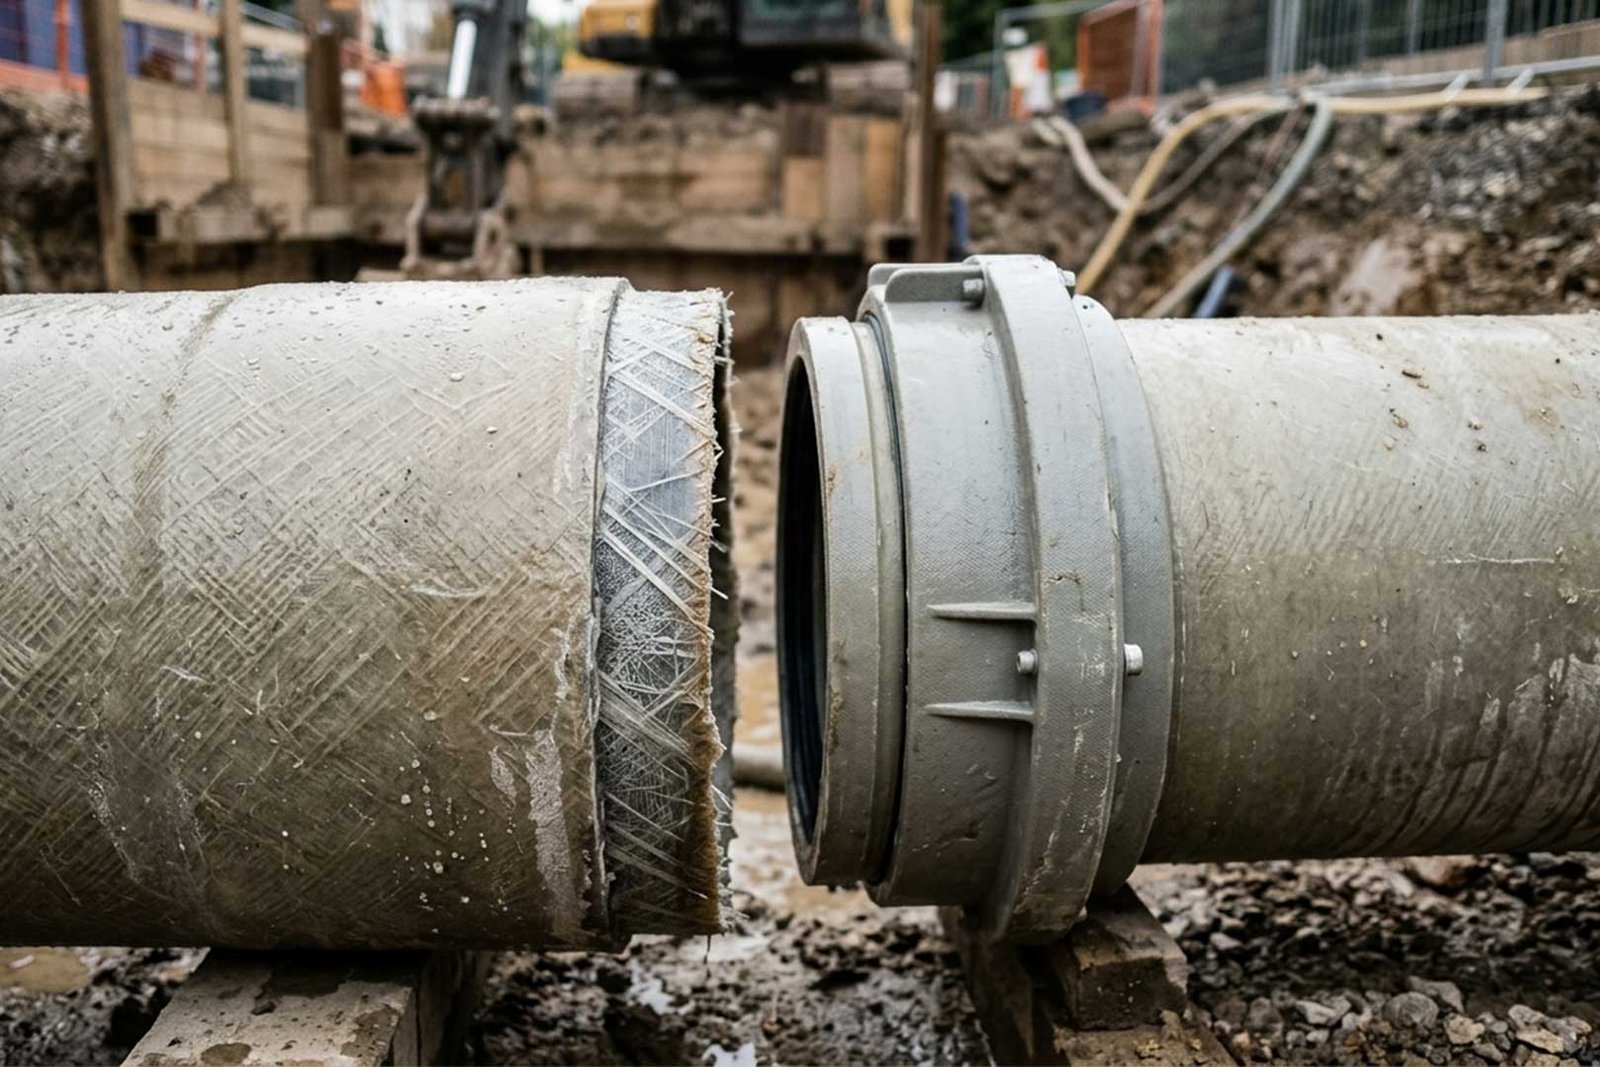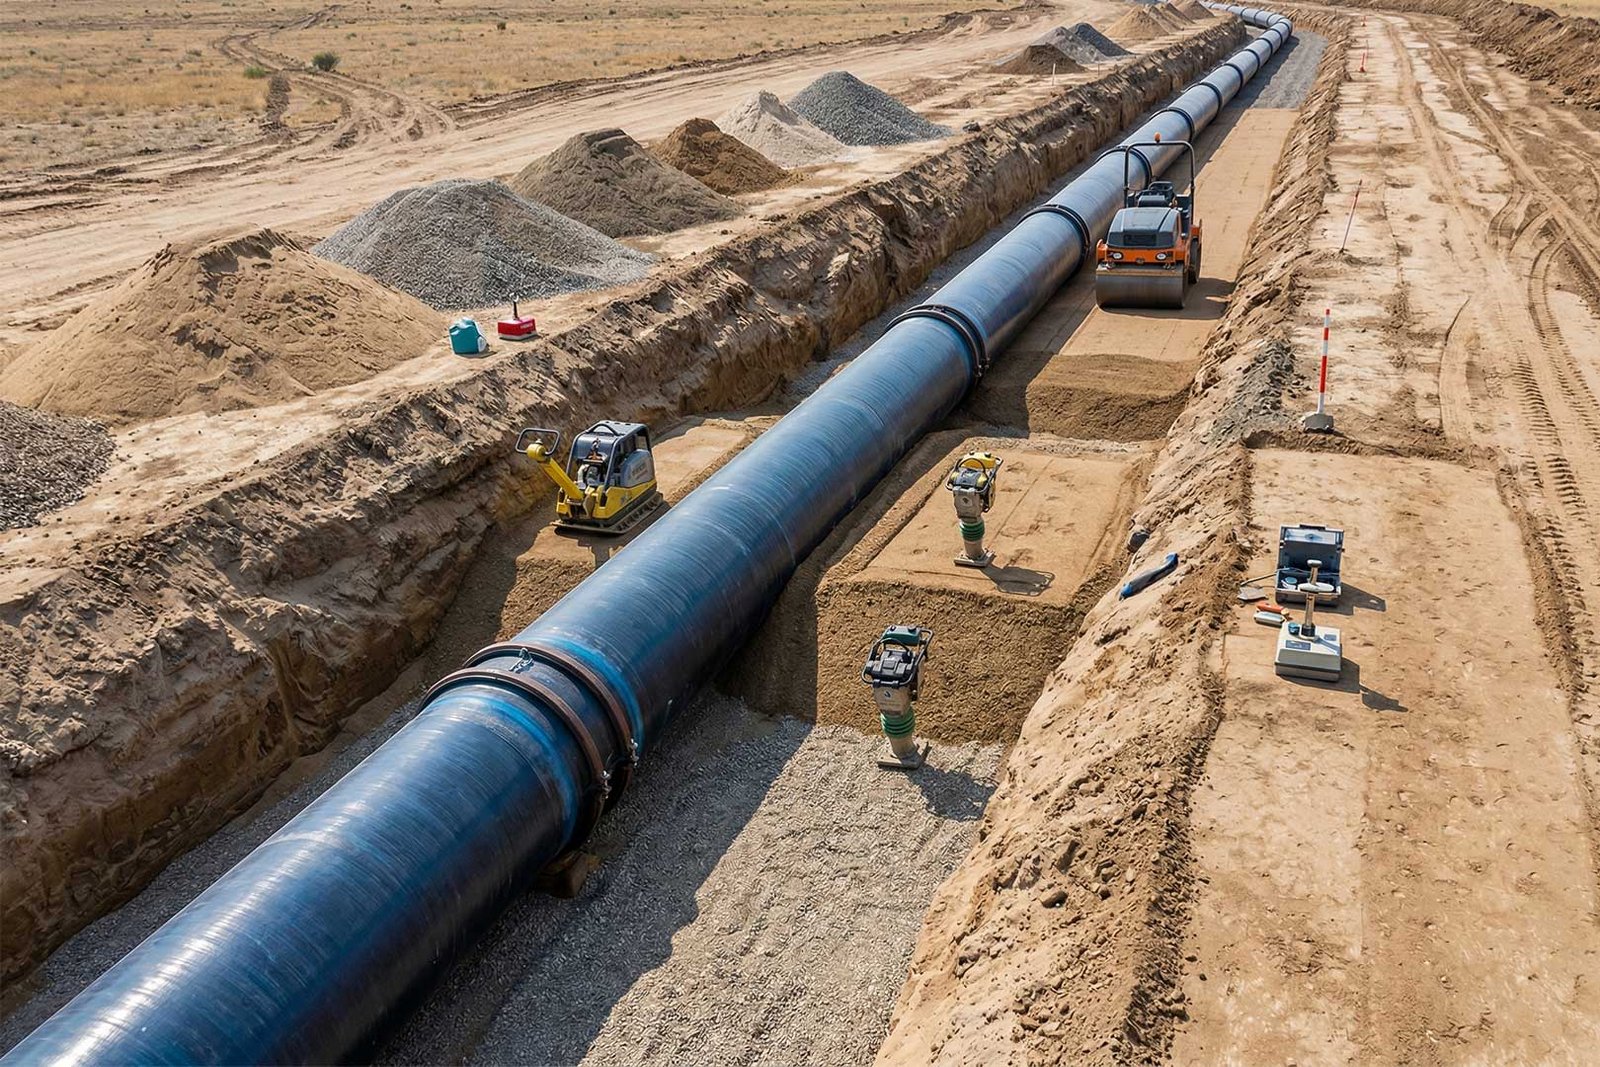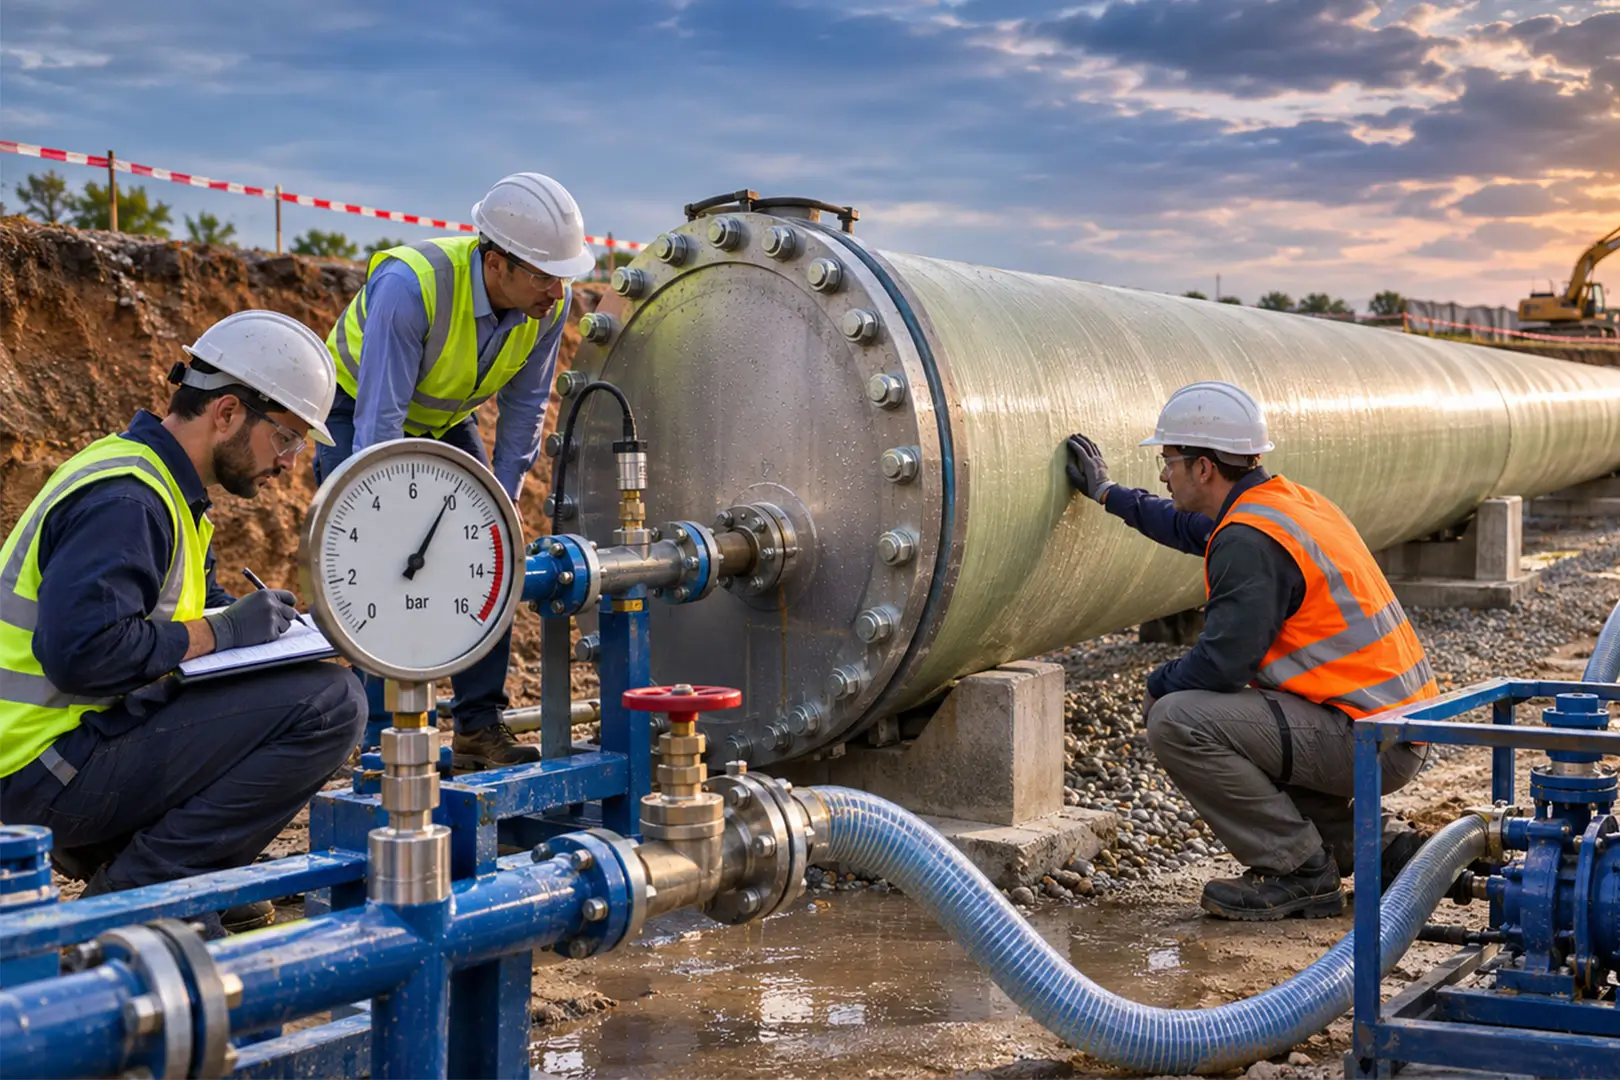
Field hydrostatic testing means filling your installed GRP pipeline with water and putting it under controlled pressure before you accept that section for service. The test checks the whole assembled system: pipe, joints, fittings, valves, closures, restraints, and the temporary test equipment. Hitting the target number on your gauge doesn’t tell you the test passed. Trapped air, temperature, leaking isolation valves, and elevation can all change how the pressure behaves.
Your project documents set the test pressure, the holding time, how you accept the result, what you need to inspect, and which records you keep. There is no single test pressure, holding time, or leakage limit that fits every GRP pipeline. Stay with us for a closer look:
Which Standards Govern GRP Pipeline Hydrostatic Testing?
Your contract specification and your approved hydrotest procedure come first. They set the rules for your field test. Standards and manufacturer instructions back them up within their own scope, and each one does a different job.
| Reference | Role in field testing |
|---|---|
| EN 805:2025 | Site testing of water-supply systems, including provisions for non-viscoelastic pipelines such as GRP |
| AWWA M45 | Supporting fiberglass-pipe design and installation guidance |
| AWWA C950-25 | Product requirements for fiberglass pressure pipe and joining systems |
| ISO 23856:2021 | GRP-UP pipe, fitting, and joint system requirements; it is not a complete field hydrotest procedure |
If you work on European water supply, EN 805:2025 is a main field-testing reference. AWWA C950-25 and ISO 23856:2021 cover product and system requirements, so look to them for that side of things.
How Should a GRP Pipeline Be Prepared for Hydrostatic Testing?
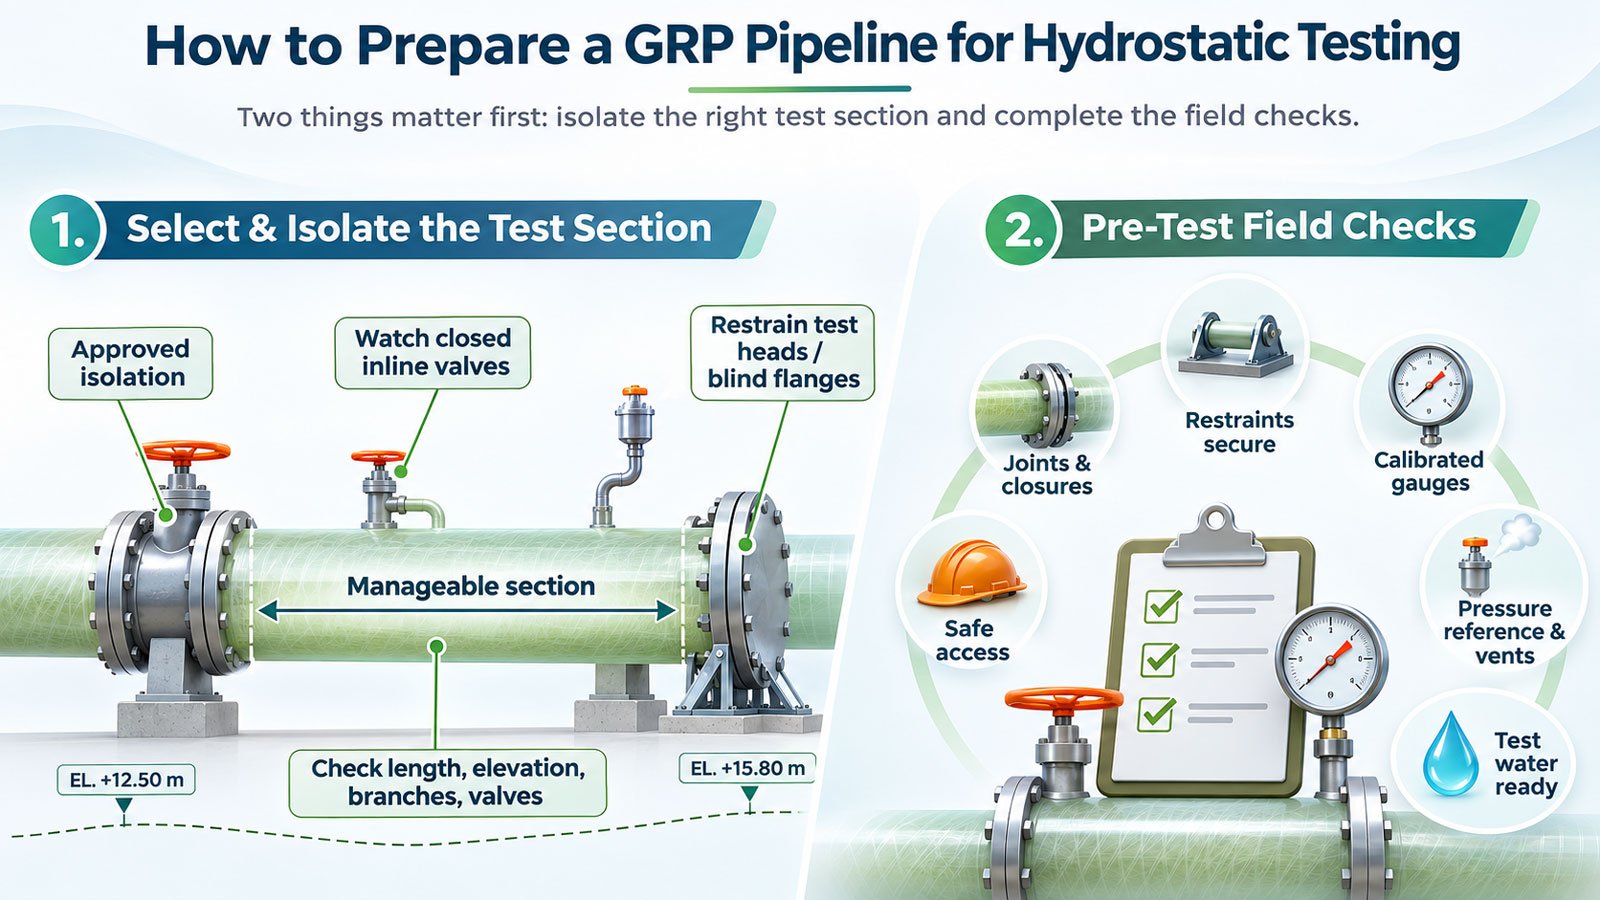
Before you start, make sure your team has a test section it can control and inspect properly. Your boundaries, vents, closures, restraints, and instruments all affect how reliable the result is.
Select and Isolate the Test Section
If you’re testing a long transmission line, you’ll usually split it into smaller sections. When you pick where each section starts and ends, think about length, elevation, branches, valves, changes in pressure class, access, and how easily you could find a leak.
Stick to the isolation arrangement you’ve approved. Temporary test heads, blind flanges, and other accepted closures need restraints that suit your planned pressure. Watch your closed inline valves too. If a valve seat leaks, water can slip into the next section and cause a pressure drop that looks like a problem in your own test section.
The Fiberstrong underground pipe installation guide covers field hydrostatic and joint testing, subject to your project’s requirements.
Pre-Test Field Checks
Do your readiness checks before you start filling. It’s the easiest time to catch trouble with closures, gauges, vents, or test connections.
- Make sure the accessible joints, flanges, fittings, valves, and temporary closures suit your planned test.
- Check that your end closures and other required restraints are secure.
- Confirm your gauges and recorders have valid calibration and a suitable measurement range.
- Pick out your pressure reference point, filling connection, drains, and high-point vents.
- Set up safe inspection access and keep people out of the areas around pressurized temporary works.
- Confirm your test water meets project and service requirements.
How Is Hydrostatic Test Pressure Selected for GRP Pipelines?
Your project specification, approved procedure, and the manufacturer’s requirements give you the test pressure. Operating pressure, pipe pressure class, and field test pressure are three different things, so don’t swap one for another.
Check Every Component Inside the Boundary
Don’t set your test limit by the GRP pipe rating alone. Your valves, flanges, fittings, branches, and closures all have pressure limits of their own.
Before you pressurize, find the lowest limit among everything inside your test boundary. Your test pressure has to stay under it.
Define the Pressure Reference Elevation
In a filled pipeline, pressure changes with height. The low point carries more pressure than the high point, so your procedure needs to say exactly where you measure.
If you skip this, your gauge at a high point might show the required reading while a lower stretch of pipe is under too much pressure.
The Amiblu installation manual also ties test-section planning to product pressure class, included components, and elevation.
What Are the Steps in Field Hydrostatic Testing of GRP Pipelines?
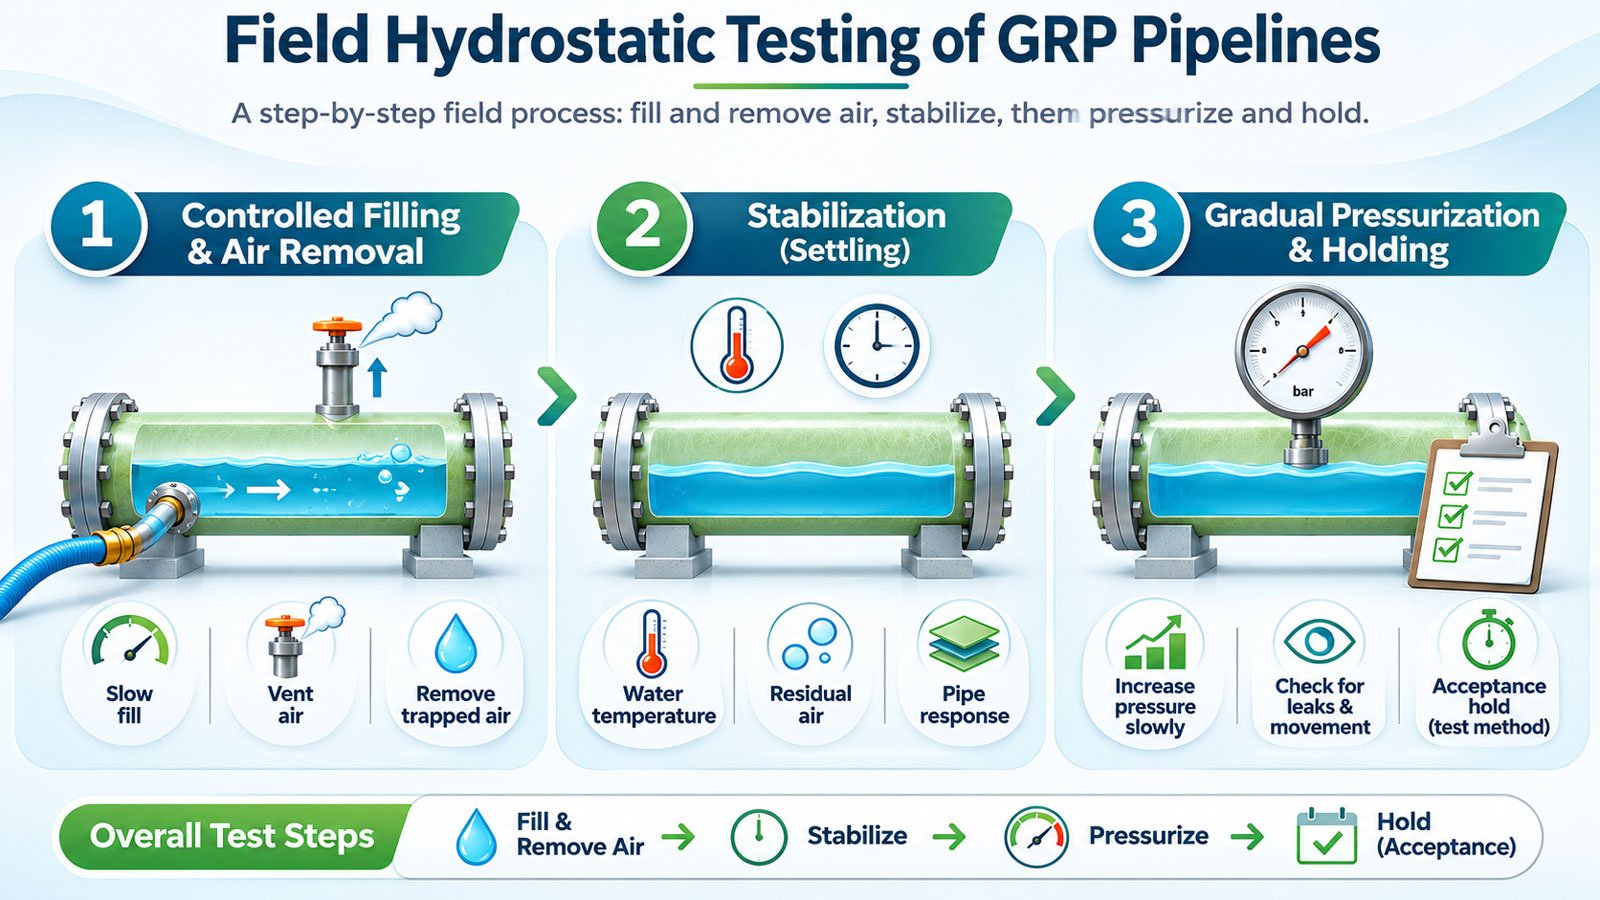
Your test moves through filling, air removal, settling, pressurizing, and the acceptance hold. Your approved procedure sets the timing and any extra stages the project asks for.
Step 1: Controlled Filling and Air Removal
Fill the section slowly, usually through a connection at the low point, so air can move up to the high-point vents. If you fill too fast, air is harder to get out, and both the test and your safety can suffer.
Keep venting until your approved procedure says enough air is out. If air keeps showing up or the pressure acts strangely, look at how the section was filled before you go on.
Amiblu’s GRP pipe installation names leftover air as something that makes pressure tests less accurate.
Step 2: Stabilization Before the Main Test
Once the section is full, give it time to settle into the test condition you need. Water temperature, the temperature around the pipe, leftover air, and how the pipe responds all affect your pressure readings.
Your procedure may include a first pressure stage or an air check. Follow the settling requirement written for your project and skip any general holding time you may have seen elsewhere.
The Fiberstrong site-testing also lists temperature and trapped air as things that affect how you read the pressure.
Step 3: Gradual Pressurization and Holding
Bring the pressure up slowly until you reach the approved test value. As it rises, look over the accessible joints, valves, test heads, restraints, fittings, and gauges for leaks, movement, or anything odd.
Only start the official acceptance period when your approved procedure says you’ve reached the required condition. Write down the pressure and any temperature changes as the test runs.
Keep your test method in mind when you review the results. A pressure-hold test and a measured make-up-water test follow different acceptance rules.
What Are the Allowable Leakage and Acceptance Criteria for GRP Pipelines?
Your project’s acceptance method tells you how much pressure loss or measured water loss is allowed. No universal GRP field leakage allowance exists.
Before you accept the section, you also need to check the visual inspection and make sure the test conditions were valid.
Pressure-Loss and Measured Water-Loss Methods
Your project may use a pressure-loss method or a measured water-loss method. They judge the test in different ways.
| Method | What the field team evaluates |
|---|---|
| Pressure-loss method | Pressure change during the specified holding period against the approved criterion |
| Water-loss or make-up-water method | Water added or otherwise measured under the approved procedure against the permitted limit |
Don’t take a pressure-drop limit from one method and pair it with a water-loss rule from another. Use the acceptance criteria that belong to the method your project approved.
Visual Leakage and Component Inspection
Don’t decide whether the test passed from the pressure record alone. Look closely at accessible couplings, laminated joints, flanges, valves, branches, fittings, and temporary closures. Watch for seepage you can’t accept, visible leaks, movement, or damage.
A FLOWTITE potable-water replacement project in Nantes, France, used a water pressure test for quality control during installation of a DN1100 GRP line. The test pressure they published applies to that project only, so don’t treat it as a general GRP requirement. You can read the FLOWTITE Nantes project record for details.
Pass, Fail, or Invalid?
Your hydrotest won’t always end in a clean pass or fail. Sometimes the conditions make the result unreliable.
| Result | Field meaning |
|---|---|
| Pass | The required test condition was achieved, the specified loss criterion was met, inspection was acceptable, the instruments supported the result, and required witnessing and records were completed |
| Fail | The test was valid, but the section missed the specified criterion or showed unacceptable leakage, movement, or damage |
| Invalid test | Air, temperature, instrumentation, isolation, or test-equipment problems made the result unreliable, so the affected stage needs correction and repeat testing |
If your pressure drops when you don’t expect it, don’t jump to the conclusion that the GRP pipe is faulty. Find out what caused the change first.
Why Does a GRP Pipeline Lose Pressure During Hydrostatic Testing?
When your gauge falls, you know the pressure changed. You don’t yet know why. Trapped air, temperature changes, instrument problems, leaking isolation, leaks in your test equipment, or a real leak in the pipeline can all look alike on the gauge.
| Possible cause | What engineers should investigate |
|---|---|
| Trapped air | Incomplete venting, persistent air at high points, irregular pressure response |
| Temperature changes | Changes in test-water, pipe, soil, or ambient temperature |
| Instrumentation errors | Gauge disagreement, calibration status, unsuitable range, recorder faults |
| Isolation or test-equipment leakage | Passing valves, temporary closures, manifolds, hoses, drains |
| Joint or fitting leakage | Couplings, flanges, valves, branches, fittings |
| Pipe damage or abnormal movement | Physical damage, movement, repeatable unexplained pressure or water loss |
Work through the causes in a sensible order. Start with temperature and air removal. Next, compare your instruments, then look over the manifold and isolation boundaries. After that, check the accessible components. Only then should you start suspecting a defect in the GRP itself.
The HOBAS installation manual recommends measuring pressure independently and recording the results. That comes in handy when two of your instruments disagree.
What Factors Change Hydrostatic Testing Requirements?
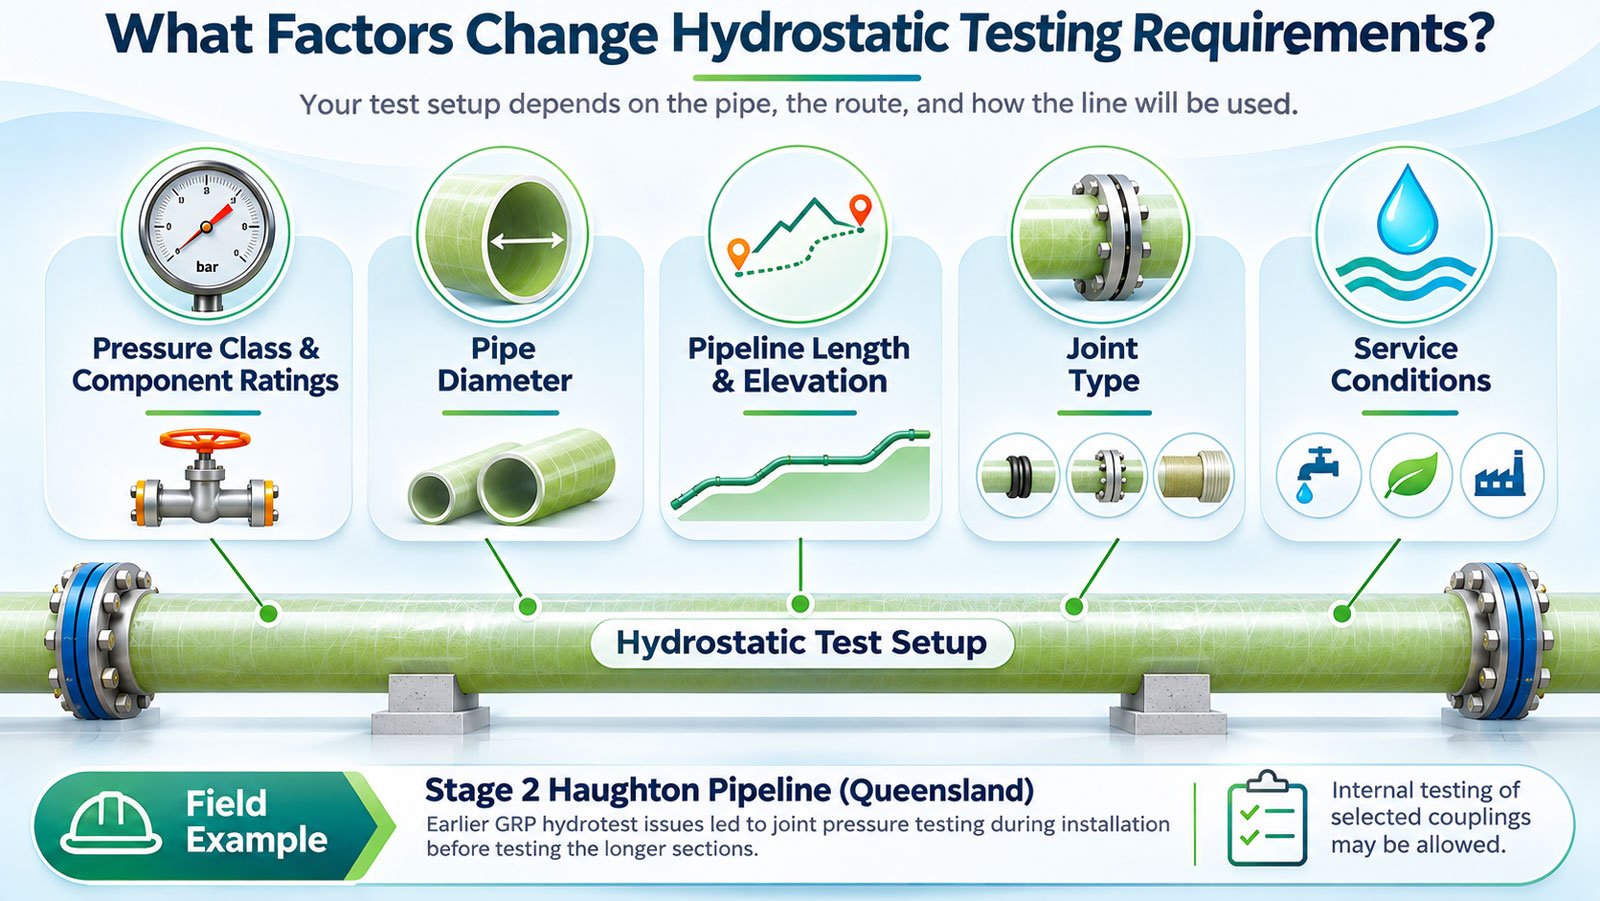
Your hydrotest setup depends on your pipe, your route, and how the line will be used. Diameter, elevation, joint type, component ratings, and intended service can all change what the test needs.
- Pressure class and component ratings: keep every item inside the boundary within its permitted test condition.
- Pipe diameter: bigger pipe holds more water, which affects filling, venting, temporary equipment, and inspection logistics.
- Pipeline length and elevation: both affect how you choose sections, how pressure is spread along the line, and how easily you can find a leak.
- Joint type: gasketed, restrained, flanged, and laminated joints each need their own kind of inspection attention.
- Service conditions: potable, raw, irrigation, seawater, and industrial-water projects can set different test-water requirements.
If you’re working with a suitable large-diameter pipeline, your approved specification may allow internal testing of selected couplings. The HOBAS installation and the Amiblu manual describe this equipment for suitable systems.
The Stage 2 Haughton Pipeline project in Queensland is a good field example. Its business case records that earlier GRP hydrostatic-testing problems shaped the project’s controls. Because of that, the team introduced joint pressure testing during installation, before they hydrotested the longer sections. You can read the Stage 2 Haughton Pipeline detailed business case for more.
What Happens When a GRP Pipeline Fails Hydrostatic Testing?
If your hydrotest doesn’t go well, stay calm and keep control. Find the cause before you start any repair work, finish the fix, inspect it, and test the section again under your approved procedure.
- Stop the test and release the pressure slowly.
- Keep air coming in while you depressurize or drain, so you don’t create unwanted vacuum.
- Trace the problem through your test equipment, isolation boundaries, joints, fittings, valves, and pipe.
- Once the section is fully depressurized, carry out the approved correction, repair, or part replacement.
- Inspect the corrective work and repeat the hydrostatic test your project requires.
- Write down the first result, what you found, what you fixed, and the re-test outcome.
Keep repair details short in your hydrotest paperwork. If your pipe does need repair, the separate GRP/GRE Pipe Repair Guide explains the method, so this article can stay focused on diagnosing the test and accepting the result.
What Documentation Is Required for Hydrostatic Test Acceptance?
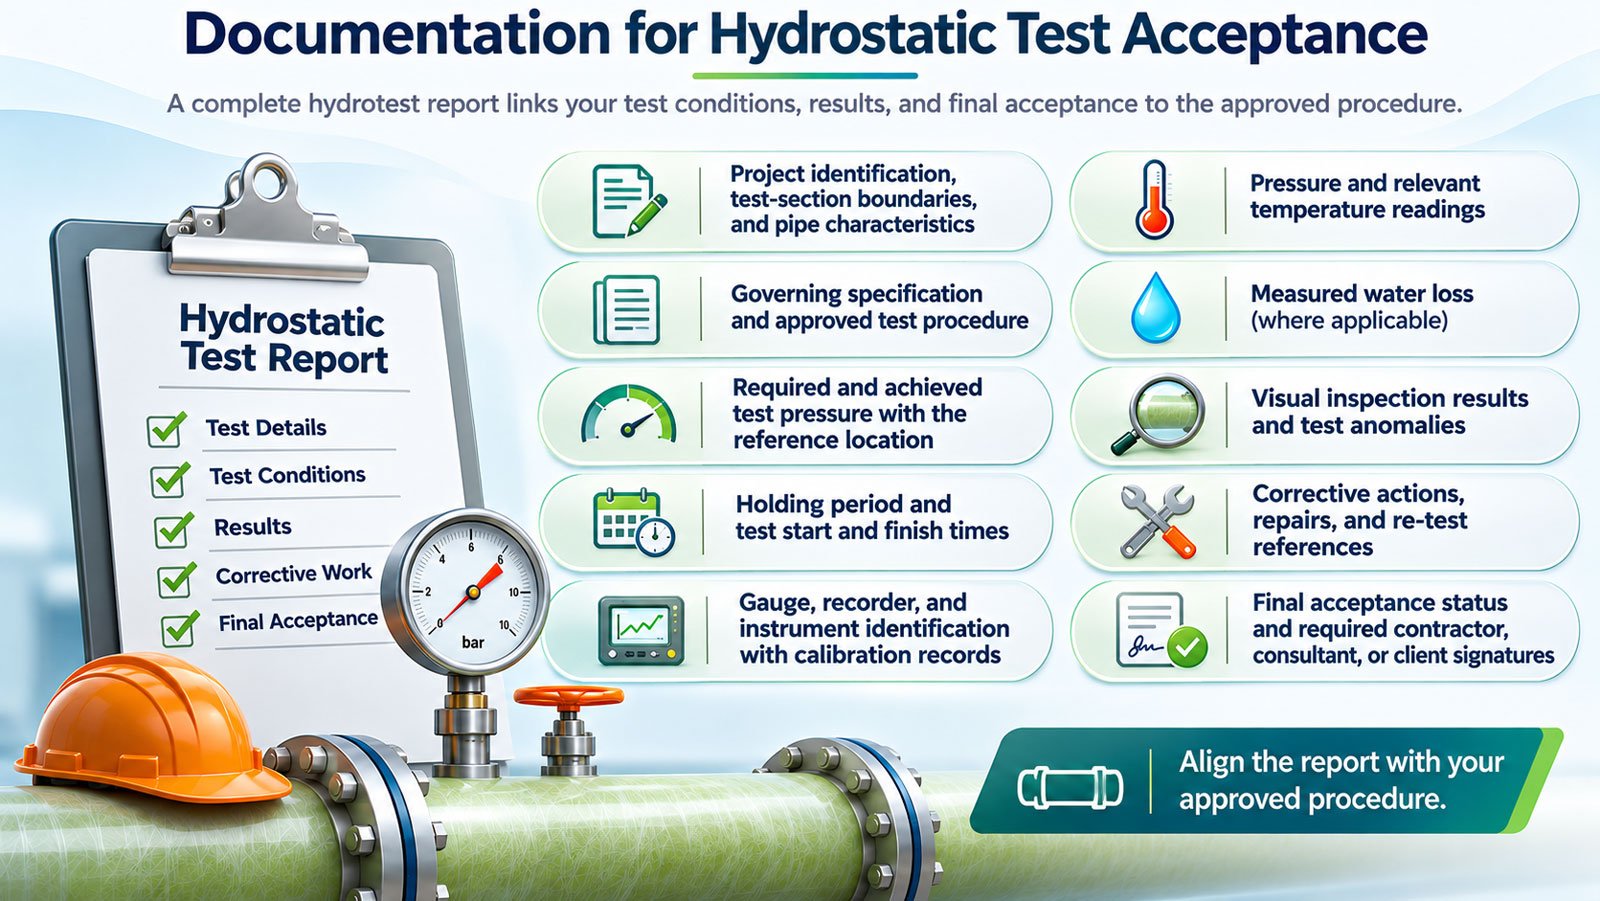
Your hydrotest report should make three things clear: what you tested, how you tested it, and why you accepted the section.
Link your test conditions, instruments, inspection findings, corrective work, and final decision back to your approved procedure. Write down:
- project identification, test-section boundaries, and pipe characteristics
- governing specification and approved test procedure
- required and achieved test pressure with the reference location
- holding period and test start and finish times
- gauge, recorder, and instrument identification with calibration records
- pressure and relevant temperature readings
- measured water loss where the selected method uses it
- visual inspection results and test anomalies
- corrective actions, repairs, and re-test references
- final acceptance status and required contractor, consultant, or client signatures
The HOBAS field installation supports recording your pressure-test results. Records you can trace back make your final acceptance decision easier to defend.
Conclusion: Verified GRP Pipeline Integrity with Grand Linecore
A successful hydrotest shows that your installed GRP pipeline works as a complete pressure system under the test conditions you specified. Before you accept a section, check that you used the right test pressure, followed the specified leakage method, got an acceptable field inspection, and have records that support the result.
Grand Linecore supplies GRP and composite piping systems and delivers integrated water-transmission EPC services. If you’re working out hydrotest requirements for your project, contact Grand Linecore and we’ll talk them through with you.
about
The Author

Farshid Tavakoli is a seasoned professional in engineering and international trade. Holding degrees in Electrical Engineering, Mechatronics, and a Doctorate in Business Administration (DBA) from the University of Lyon, he also has a strong background in industrial automation and production line technologies.
For over 17 years, he has led an international trading company, gaining deep expertise in commercial solutions tailored to industrial needs. With more than 8 years of active involvement in infrastructure development, he specializes in the supply of electromechanical equipment for water and wastewater treatment plants and transfer projects.
Together with comapny expert team, he now provides consultancy and integrated solutions for sourcing and implementing complex infrastructure projects across the region.