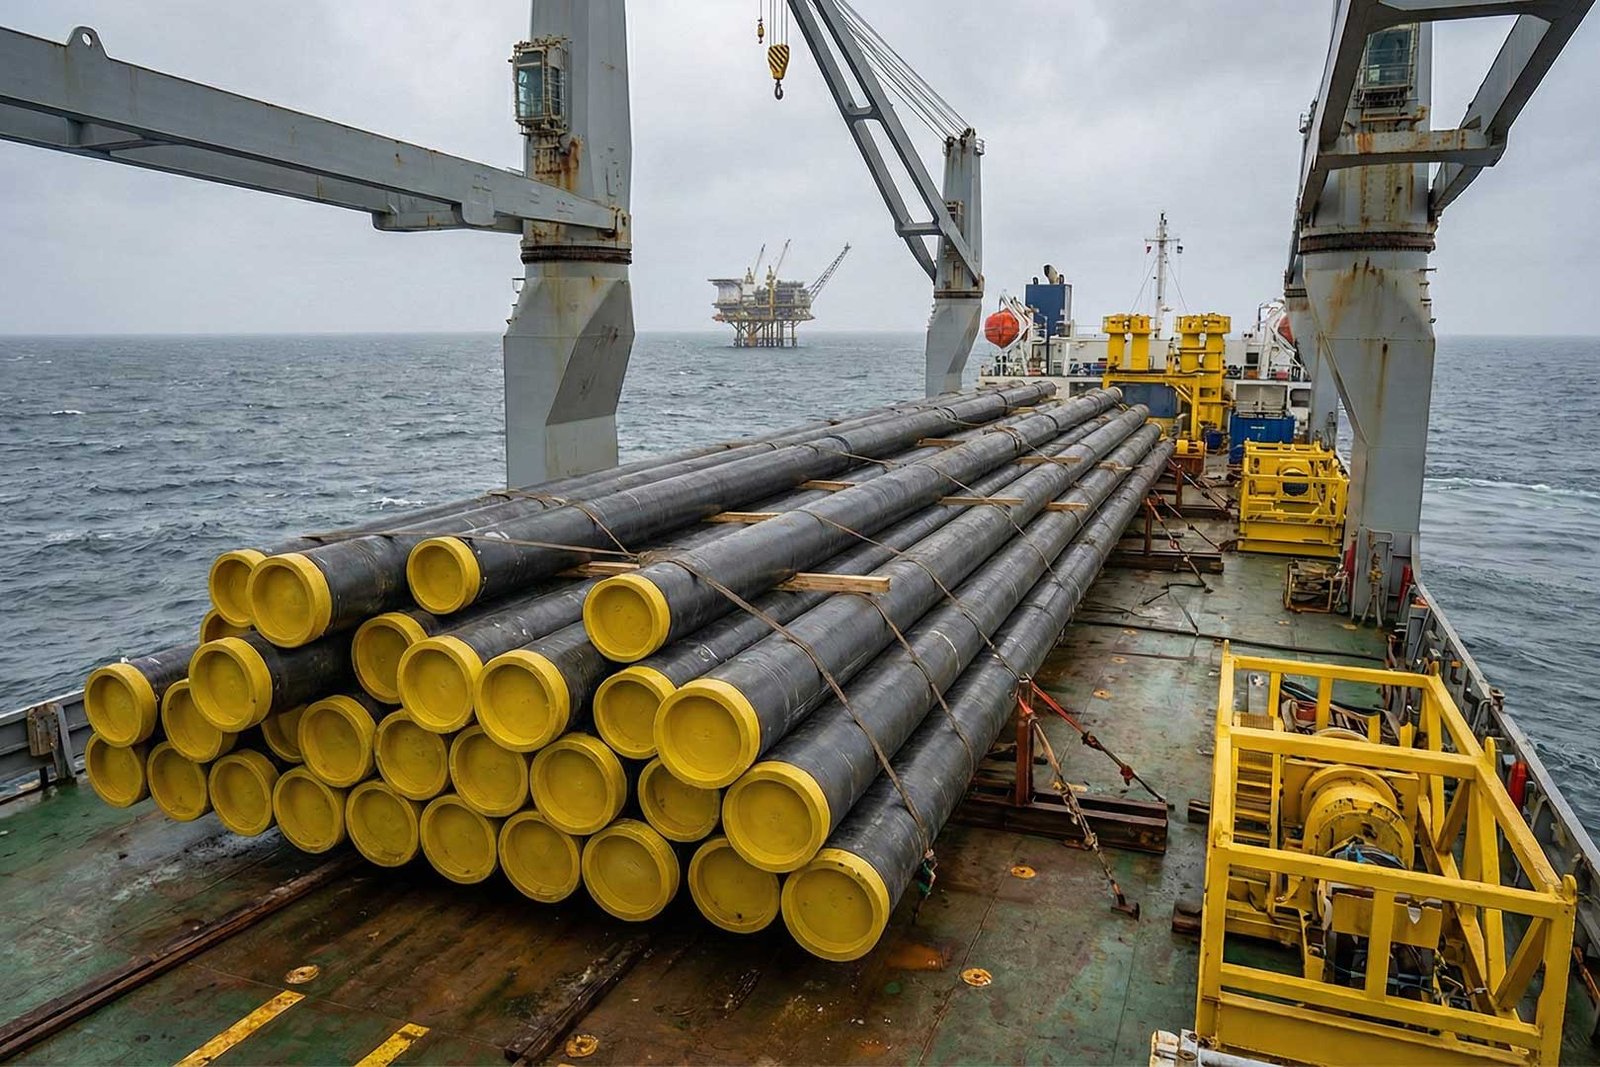
GRP pipe installation matters due to the importance of a long lifespan in hard-to-access sites. According to long-term tests, GRP pipes are predicted to last over a century under certain conditions. That’s why GRP pipes are one of the top choices for modern piping systems. Due to the lightweight and diverse jointing methods, this process goes more easily than traditional pipelines.
This post guides how to install GRP pipe properly and what to consider in trenching, backfilling, testing, and further techniques. Stay sharp till the last station!
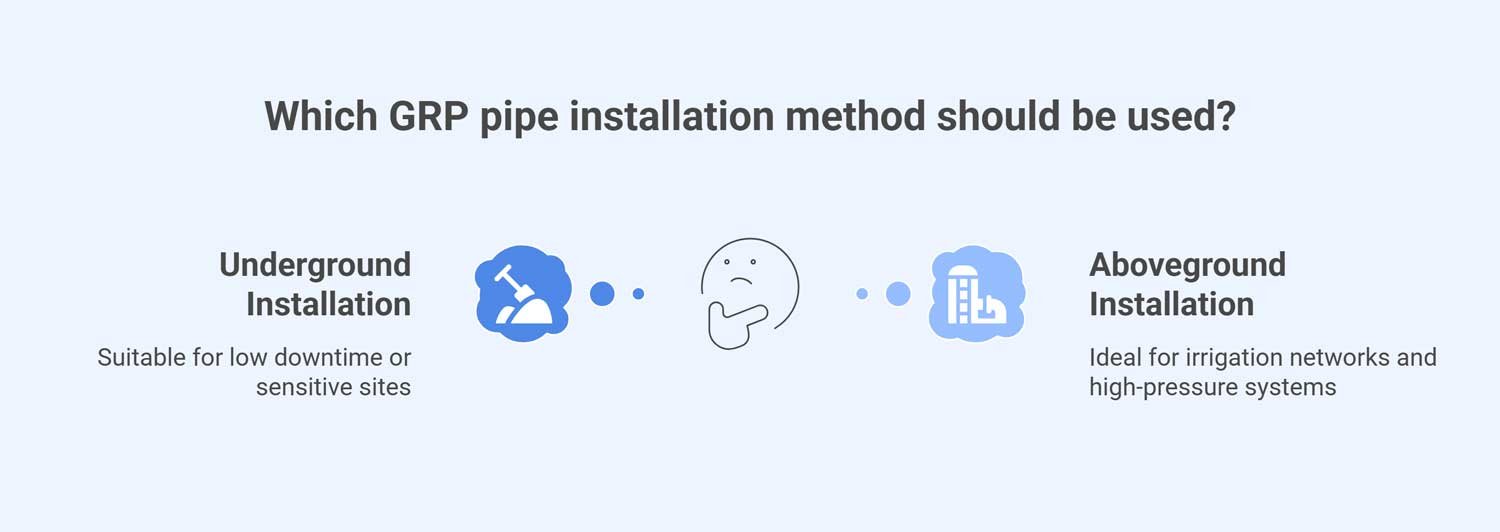
What Are the Core Methods of GRP Pipe Installation?
GRP pipes can be installed in two main ways: underground and aboveground. The choice of each depends on the site positioning and further requirements.
Underground Installation: Open Trench Method in Deep Buried Pipelines
Underground installation of GRP pipes is divided into open trench and trenchless. Engineers choose one for their project if it requires low downtime or if the site is sensitive to trenching.
Open Trench Method of GRP Pipe Installation
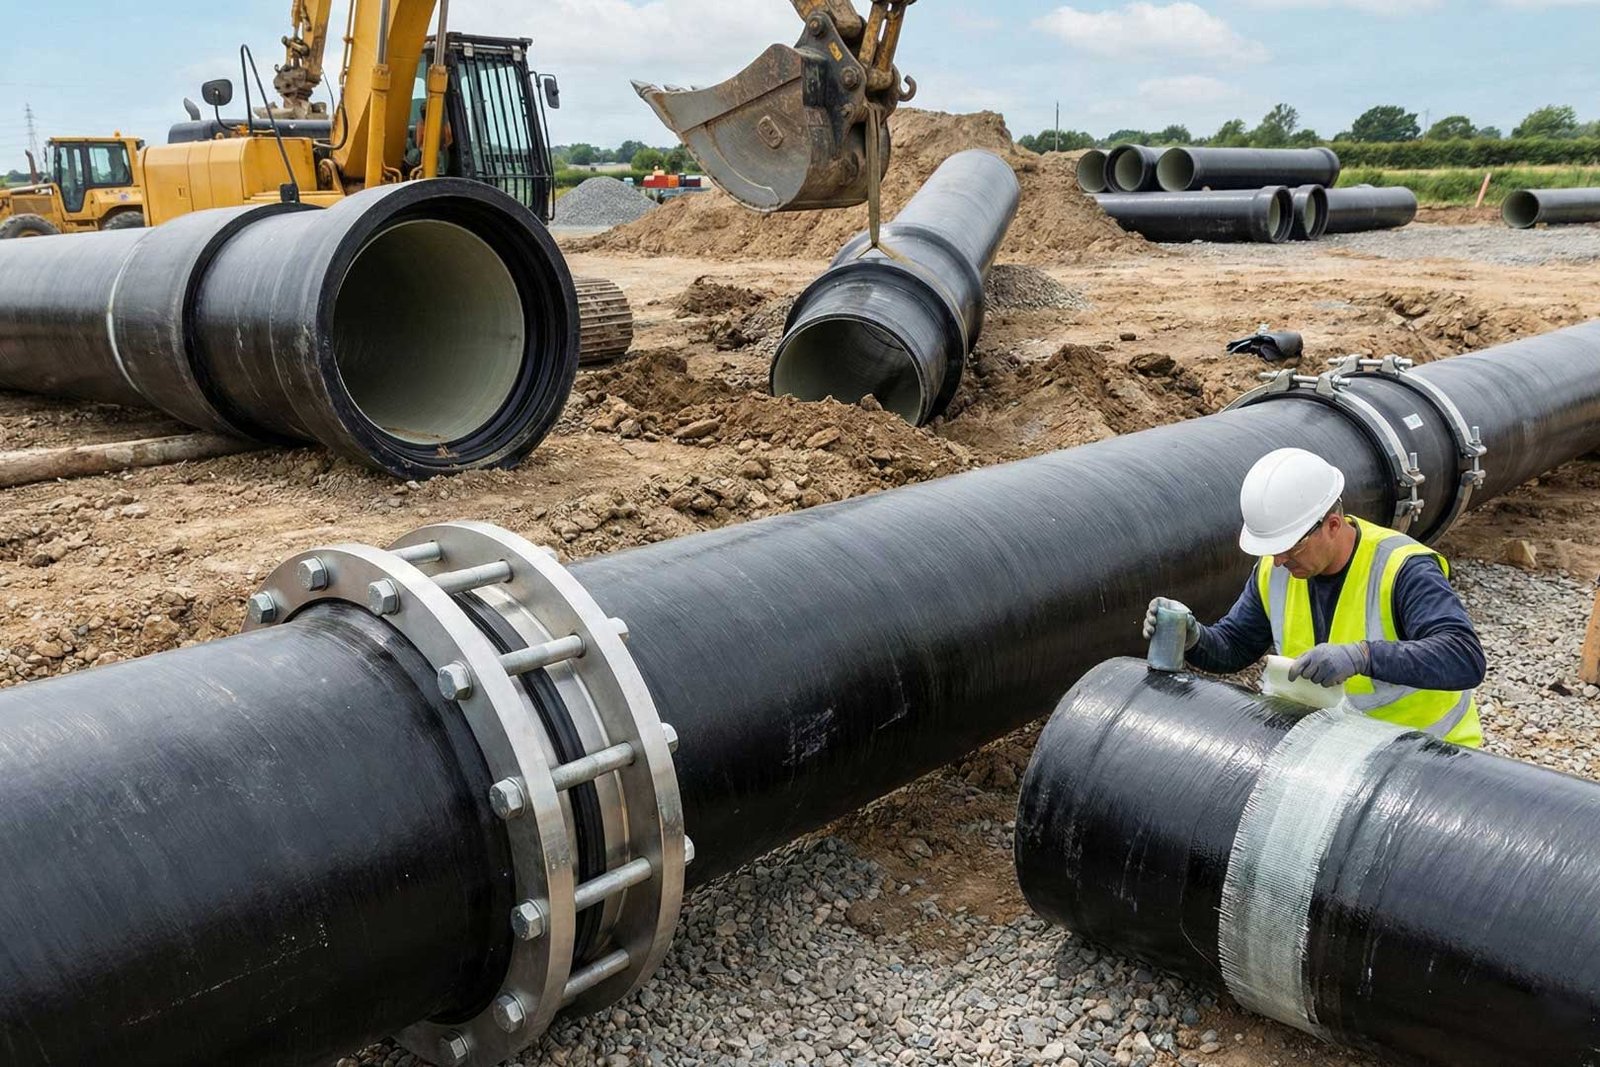
The simplest way to dig pipes in the ground. It starts with digging a trench, then the pipe goes into the trench, and layers of soil come to the end of the process with backfilling.
Proper bedding and compaction, in addition to the soil type, can reduce stress and cracks over time. (Source: Amiblu)
Trenchless Methods of GRP Pipe Installation
These methods include placing the pipe without trenching or minimal trenching. Pipe jacking for maintenance and repair of cracked pipes, and micro-tunneling is used in sensitive zones.
- Pipe Jacking: Uses hydraulic jacks to push pipes underground
- Micro tunneling: Installs pipes beneath roads without surface disruption.
- HDD (Horizontal Directional Drilling): A trenchless method for drilling and pulling pipes through the ground horizontally.
Aboveground installation of GRP pipes
Outdoor pipelines like irrigation networks require several considerations in their aboveground installation. Let’s check them out.
- Proper Spacing: to place pipes between spaces and fill the trench to avoid pipe sagging.
- Pumping Stations: GRP pipes with thick walls are used for high-pressure systems, which are located in pumping stations.
- Exposed Areas: GRP pipes are designed to resist external loads and UV exposure with no damage included.
- Temperature and Vibration Tolerance: GRP pipes are placed carefully, and if backfilling goes right, they show no weakness in the case of vibration.
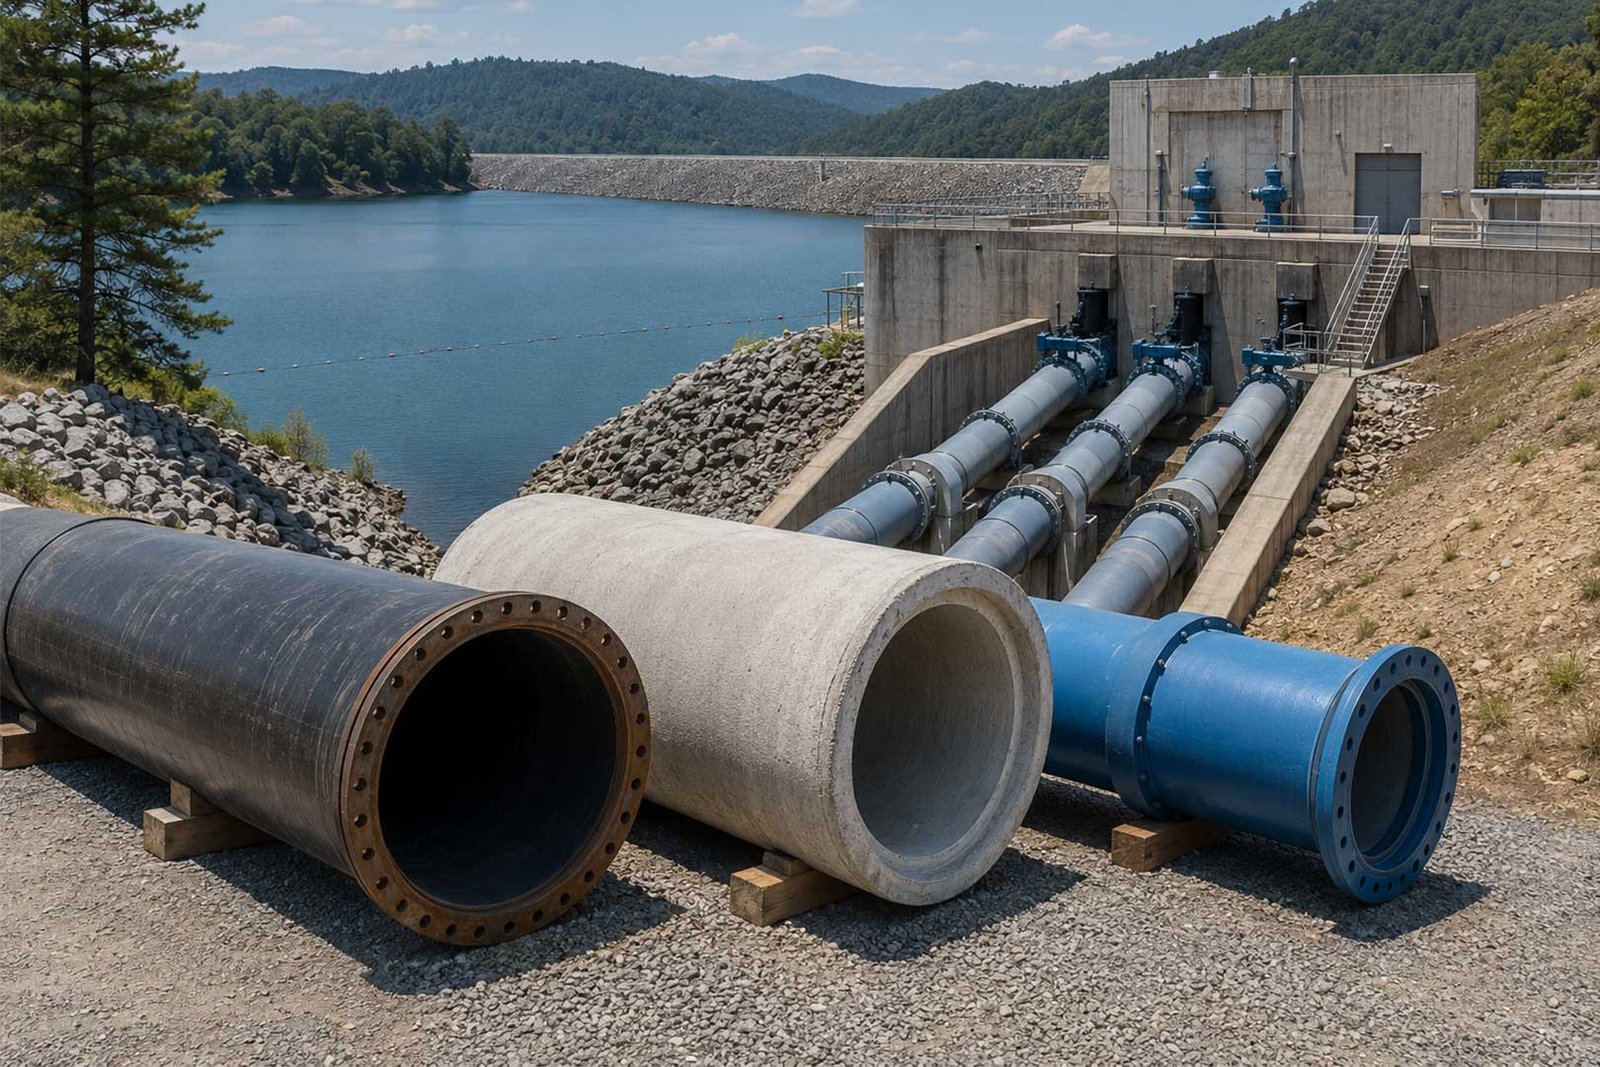
What Are the Best Practices in Handling, Transport, and Storage of GRP Pipes?
GRP pipes are lightweight pipes that can be easily handled, stored, and transported. This matter helps engineers choose GRP pipes for sites that require longer pipes that can withstand high-pressure systems.
How To Keep Unloading GRP Pipes Safe?
Use cranes or forklifts to unload pipes easily, though no need for heavy cranes. Handle pipes carefully, then check them for damage. Proper lifting equipment can reduce the risk of these damages.
Inspection of Delivered Material
Once pipes are delivered to the site, check them for cracks, dents, scratches, or so on. The quantity should also be checked to prevent such problems during the installation and delays.
How To Manage On-Site Storage?
There are wooden or cushioned supports for pipes when they’re put on the ground. The thinner the walls, the more careful the storage must be. Then check for probable humid conditions or UV exposure.
- Stacking Limitations: As noted in BHEL, manufacturers mainly add a guideline that recommends the best practices for pipe storing.
Installation Preparation Steps of GRP Pipe
The reliability of GRP pipe installation comes from the proper preparation, including inspections of the site and pipelines, safety protocol evaluations, and WMS requirements. Below, these aspects are determined to be processed correctly.
- Site Inspection and Planning: Core components like soil type, topography, and probable obstacles should be inspected to refine issues.
- Risk Assessment and Safety Protocols: This step checks for existing risks that can threaten workers during the installation process.
- Work Method Statement (WMS) Requirements: The whole process must be designed step-by-step, and control charts must indicate if there’s a problem in each step.
- Equipment Checklist: To start the primary process, the necessary equipment and personnel must be ready to minimize downtime. Check the picture below on how to design your own checklist.
How to Design Trenches and Bedding in GRP Pipe Installation?
For a reliable and long-term performance of GRP pipes under heavy loads, it matters to design trenches and backfill them carefully. Let’s point out how to make it happen.
Trench Sizes Calculation: Check the required width and depth of the trench based on the recommended design.
- The width must be calculated by the pipe diameter size, then add a space for backfilling and compaction.
- Depth depends on the pipe’s size, soil type, and load properties, though the pipes can be designed based on the project demands. (Source: What Is Piping)
What’s The Minimum Depth of Pipe Covering?
To protect pipes from external loads and hard rocks, the depth of covering must be adjusted according to the pipe size. For instance, the minimum coverage for most of the GRP pipes goes around 0.6 to 1 meter.
Bedding Material Types: SC1 to SC4
Bedding material is defined by the soil classification, from SC1 to SC4; each may show specific conditions for pipes to be placed. Check the table below to adjust your bedding material according to the soil type.
| Classification | Composition | Particle Size | Load Capacity |
|---|---|---|---|
| SC1 | Clean crushed stone or gravel | Coarse, minimal fines | High support for heavy loads |
| SC2 | Crushed stone with small fines | Coarse, up to 15% fines | Moderate support |
| SC3 | Sand and stone with more fines | Coarse to medium, 30% fines | Lower support |
| SC4 | Sand, silt, or clay-rich | Fine, >30% fines | Minimal support |
How Thick Bedding Layers Must Be and How to Prepare Them?
To support the pipes correctly, bedding materials should be added in a uniform range of 150-300 mm for diameter changes. To avoid any probable movements, the compaction must be operated effectively.
Pipe Placement: The Core Process of GRP Pipe Installation
As the central part of GRP pipe installation, the pipe placement goes under several components, as mentioned below:
1. Alignment Methods: Laser, String Lines
To align pipes correctly in the trench, laser and string lines can prevent deflection and stress-induced cracks in pipes.
2. How To Lower the Pipe Safely?
In this case, use a crane or lifting slings to avoid cracks or deformation. Check pipes to see if they’re under pressure; further damage may occur if they’re covered.
3. How To Avoid Pipe Flotation In Wet Conditions?
In wet conditions or on sites with a high-water table, to prevent unwanted pipe movement, temporary supports can be helpful.
4. The Insertion Direction of Pipes in Pipe Placement
Inspect trenches for proper placement that can prevent damage from further incorrect compaction. To direct the pipe in the appropriate orientation that creates the right flow via correct jointing and fittings.
What Are the Most-Used Jointing Methods of GRP Pipes?
GRP pipes can be connected in many ways. The most popular methods include double bell couplings, flanged joints, and adhesive bonding.
Double Bell Coupling (Elastomer-Sealed)
This method requires gaskets, lubricant, and pullers to place pipes into the trench and connect the two pipe ends with no leakage.
- First, clean the pipe ends, then place gaskets in the bell.
- Second, to make coupling sturdier, add lubricant and use pullers to absorb stress.
- Last, check and inspect visually for possible leaks or unseated gaskets.
Adhesive-Bonded Joints
This method lies in the preparation and grinding of the pipe end till it gets smooth by heating. The adhesive layers come to the joint area to seal pipes and make a permanent joint by completing the curing process.
Laminate Joints (Hand Lay-Up)
This process, like others, requires firstly cleaning the pipe ends of dirt to allow resin and fiber layers to stick to the jointing area more easily. Then, this bonding needed to be cured as the other parts of the pipes to resist under heavy loads.
Flanges and Mechanical Couplings
Flanged joints are mainly used in restrained systems where high pressure requires such axial and hoop strength.
- FuturePipe highlights that check the torque setting to tighten flanges and couplings for leakage prevention.
| Jointing Type | Key Features | Steps |
|---|---|---|
| Double Bell Coupling | Uses gaskets for sealing | 1. Clean, place gasket, apply lubricant, check. |
| Adhesive-Bonded Joints | Permanent bond with adhesive | 1. Grind, apply adhesive, cure. |
| Laminate Joints (Hand Lay-Up) | Resin and fiber layers for strength | 1. Clean, apply resin/fiber, cure. |
| Flanged and Mechanical Couplings | Bolted connections for high-pressure systems | 1. Align, tighten flanges, check for leaks. |
Backfilling and Compaction in GRP Pipe Installation
To prevent any probable movements, it’s expected to finish the pipe placement with the right backfilling and compaction process. Check the points below to end the installation process correctly.
- Backfill Layer Thickness: The thickness must be 150-300 mm, and layers must come evenly in sequences to prevent movement in their long-term performance.
How Does the Compaction Align with Soil Type?
The compaction process is designed based on the soil type. Coarser material (SC1 and SC2) mainly requires less compaction compared to fine ones like SC3 and SC4.
How To Protect the Top and Side of Each Pipe?
The crown and the haunches of each pipe must be protected by carefully bedding to avoid any deformation under heavy loads.
To Load The Surface, What’s The Least Rate of Covering in GRP Pipe Bedding?
The minimum coverage requirement in each pipeline depends on the further loads coming on them during their lifetime. Then, for high external forces, add at least a meter of coverage.
Deflection and Ovality Control of GRP Pipe Installation
To make sure the performance of GRP pipes will last with no deflection, there are necessary controls brought below, such as measuring tools and the tolerance they’ll handle over time.
- According to Scribd, between 4 to 5% of DN (nominal size) of the pipes can be tolerated. The deflection mustn’t pass these percentages to avoid further damage.
- Tools like laser scans and deflection gauges can be helpful when the pipe shape needs to be monitored during the installation and backfilling process.
Testing and Quality Control
Testing confirms the GRP pipe system is functioning correctly before use.
- Hydrostatic Testing: Fill the pipe with water, remove air, and gradually increase the pressure to the specified level. Check for leaks and maintain pressure for the required time.
- Visual Inspection and Final Checks: Inspect joints for proper engagement, alignment, and ovality. Look for any visible defects.
- Completion Documentation and QC Checklist: Record all test results, including pressure readings, visual checks, and corrective actions. Complete and sign off on the QC checklist.
Troubleshooting Installation Issues
- How to fix leaks in GRP pipe jointing?
Once the jointing is finished, check for misalignments and replace damaged parts like gaskets or add more adhesive, and go for the curing process.
- What should you do if the pipes are misaligned or show deflection?
First, excavate the damaged part, then align it and compact it with the appropriate soil type, and re-check for probable movements.
- How can you fix poor compaction or bedding failures?
Just like the previous method, excavate that part, then replace it with material for bedding and compact it again to prevent movements and vibrations.
Repairs and Replacements
In the case of repairs and maintenance, or replacements, the thing that every engineer must consider is when and how they can replace the pipes and what tests must be passed for the same performance as time passes.
- Isolate the affected area, remove the damaged pipe, and install a new section with correct jointing.
- Remove and replace damaged joints, ensuring proper alignment and gasket placement. For pipe replacement, match the material and pressure rating.
- Allow curing time for adhesives or laminate joints, then perform hydrostatic tests to ensure system integrity.
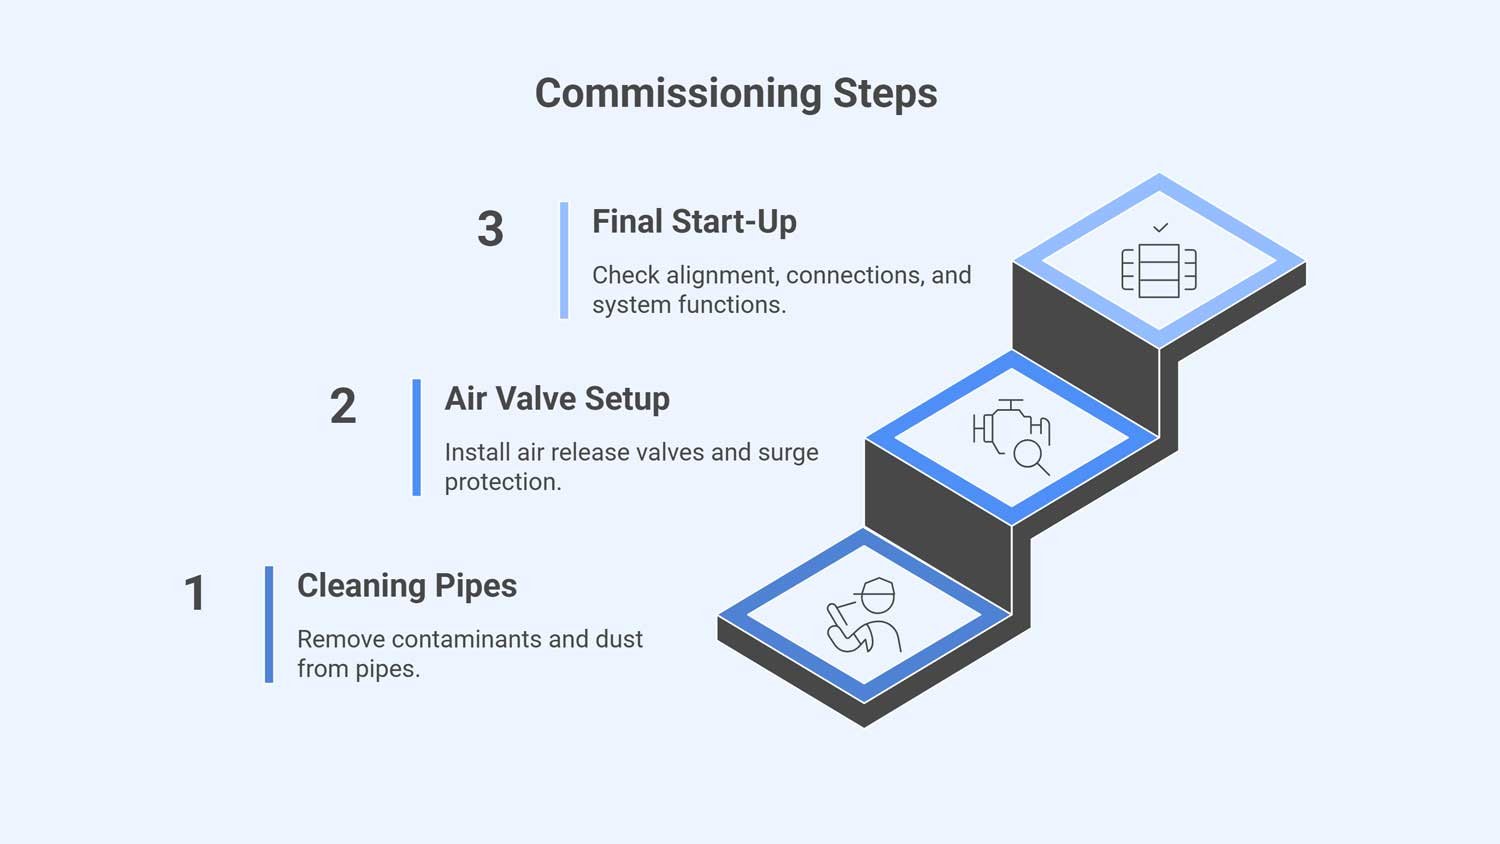
Commissioning Steps
This process represents how pipes will perform in both low- and high-pressure systems with no leaks or cracks.
Step 1: Cleaning the Pipes
Clean the pipes and flush them to get rid of any contaminants or dust.
Step 2: Air Valve and Surge Protection Setup
To remove trapped air, use air release valves and surge protection devices to check for possible obstacles.
Step 3: Final Systems Start-Up
Last but not least, all joints and fittings must be checked for proper alignment and connection. Then, run the system, inspect leaks, and check the designed functions.
Conclusion
GRP pipes are composite pipes that are lighter in weight compared to alternatives, with a more straightforward installation process. Check the site and pipes for alignments and correctness of each operation, such as jointing, backfilling, and compaction, to avoid movements and further cracks. This will reduce the need for costly inspection and maintenance.
FAQs
1- What is GRP pipe installation?
It’s the process of laying Glass Reinforced Plastic (GRP) pipes for water, sewage, or other use cases.
2- How do you prevent leaks in GRP pipes?
Check and operate correctly jointing and gasket placement, and use high-quality adhesives.
3- How do you test GRP pipes after installation?
Go for hydrostatic tests to check for leaks and pressure tolerance.
about
The Author

Farshid Tavakoli is a seasoned professional in engineering and international trade. Holding degrees in Electrical Engineering, Mechatronics, and a Doctorate in Business Administration (DBA) from the University of Lyon, he also has a strong background in industrial automation and production line technologies.
For over 17 years, he has led an international trading company, gaining deep expertise in commercial solutions tailored to industrial needs. With more than 8 years of active involvement in infrastructure development, he specializes in the supply of electromechanical equipment for water and wastewater treatment plants and transfer projects.
Together with comapny expert team, he now provides consultancy and integrated solutions for sourcing and implementing complex infrastructure projects across the region.